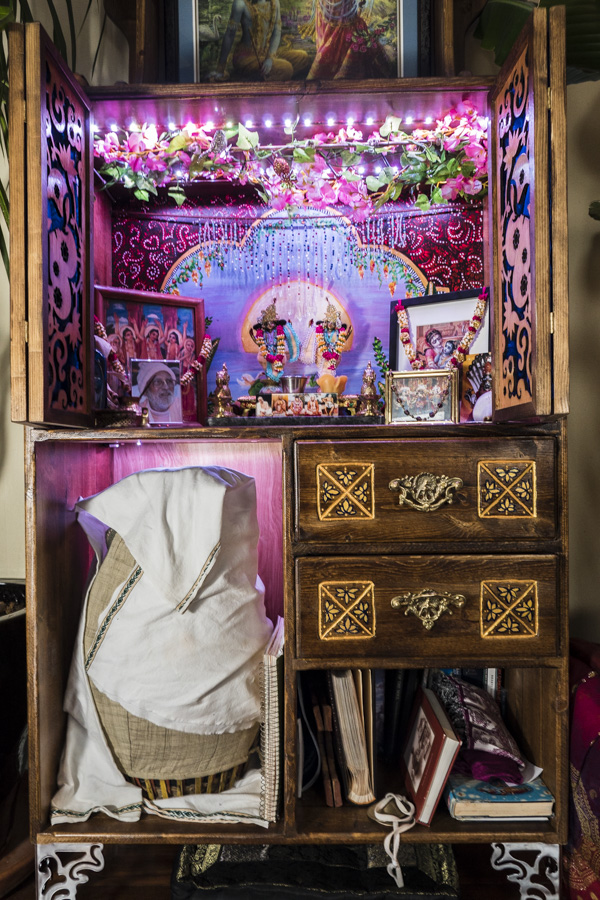
Kamala wanted a new alter to put her deities in for doing her morning and evening chanting. It seemed like that was a good excuse to pick up some woodworking tools, learn how to use SketchUp, and make a first attempt at building some wood furniture.
Kamala decided to buy me a skill saw for annual gift giving day in December. We agreed to exchange gifts a few months early and celebrated Christober (Christmas in October) instead so that we could get started. As luck would have it Canadian Tire was having a large tool sale at the same time so I picked up a new router, cordless drill, saw horses, and jigsaw as well. Now armed with a few tools that weren't exactly ideal for building a 'fine woodworking' project I just had to figure out how to use them and draft up a plan in SketchUp.
SketchUp is actually quite easy to use and it didn't take too long to get a plan put together.
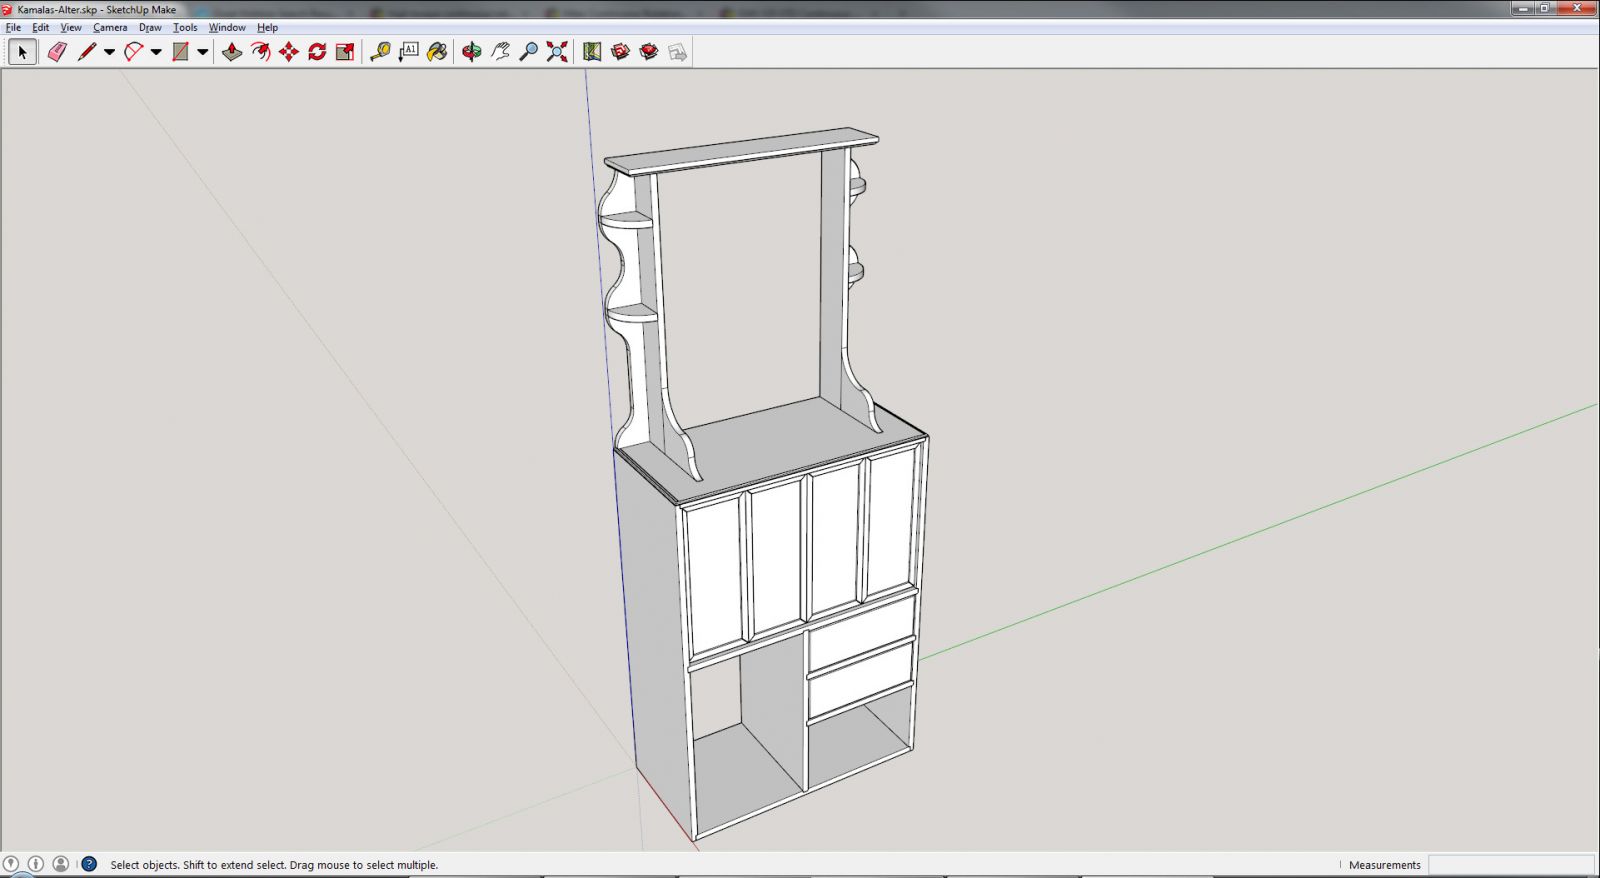
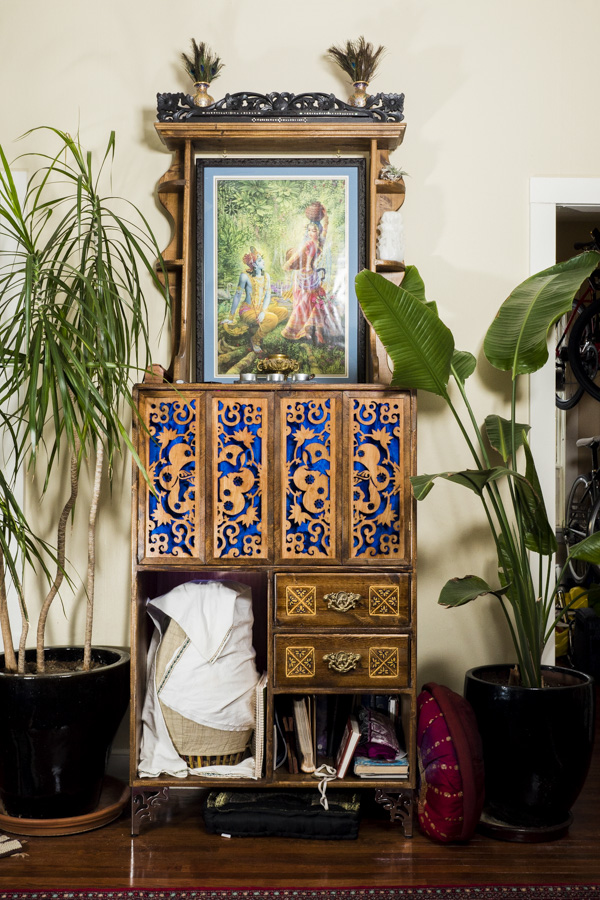
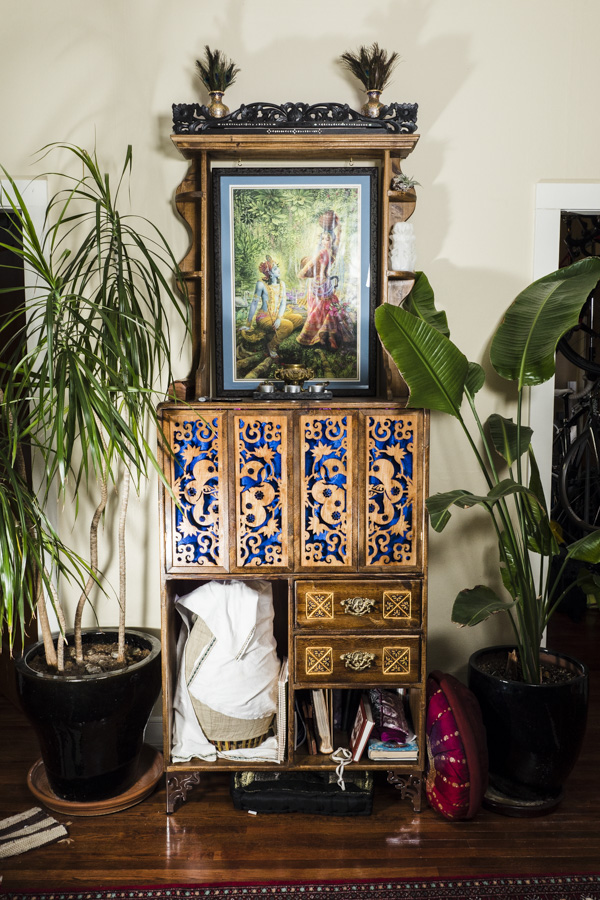
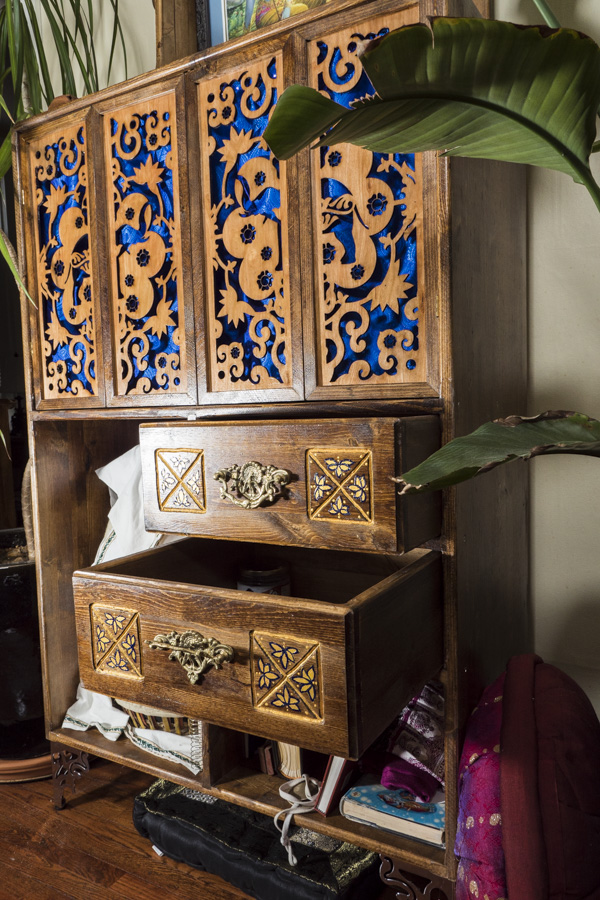
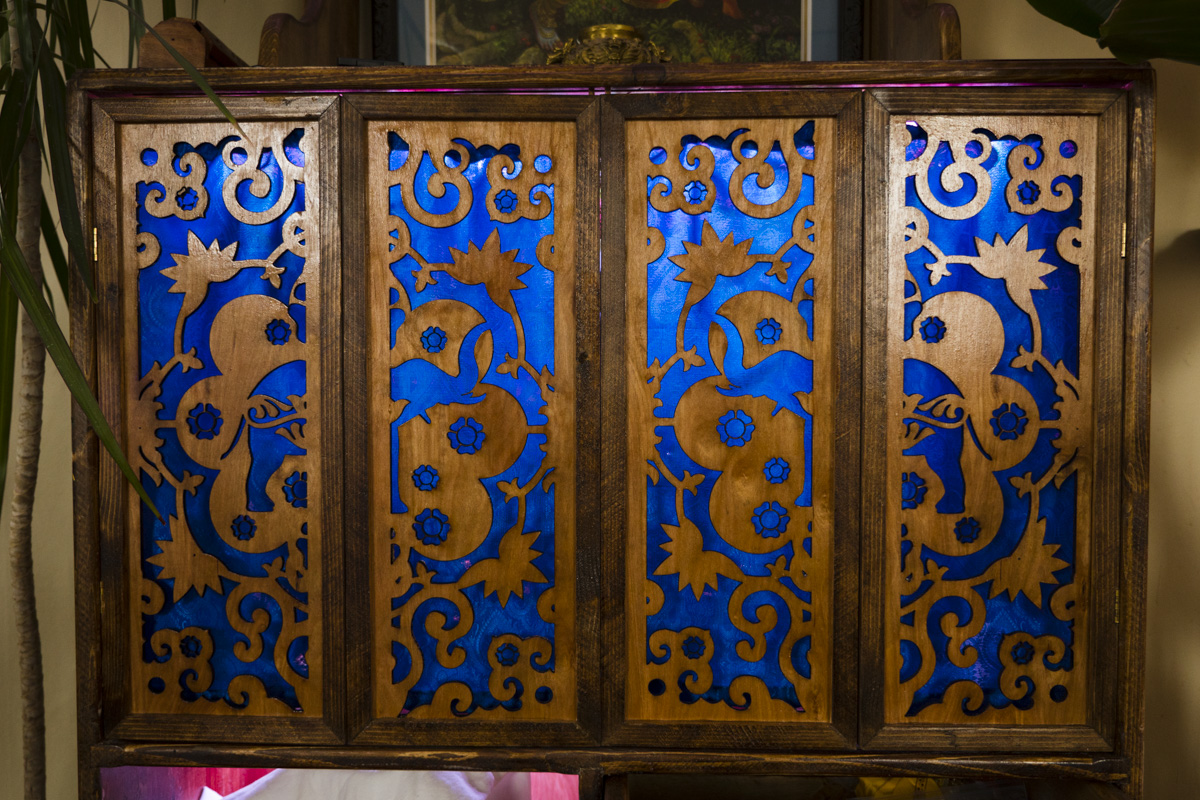
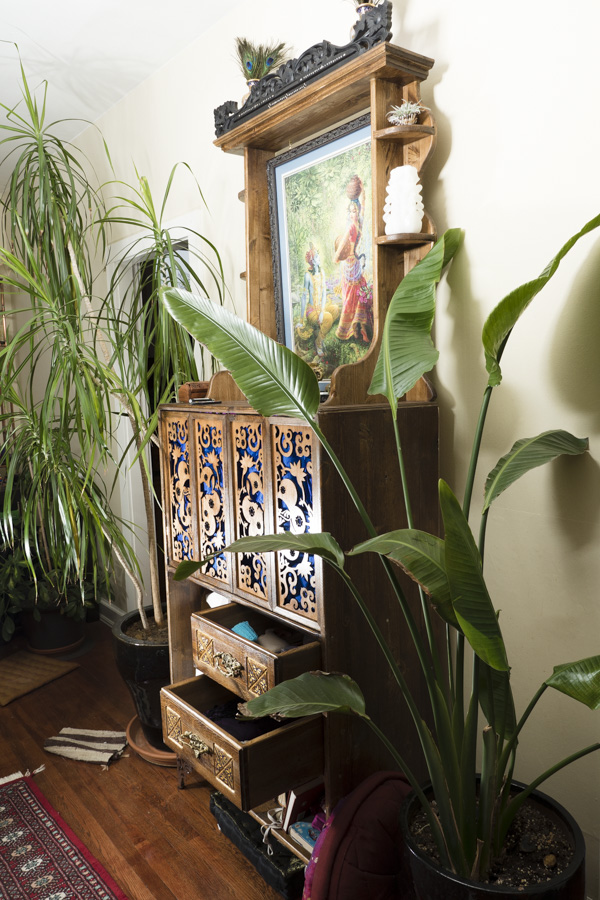
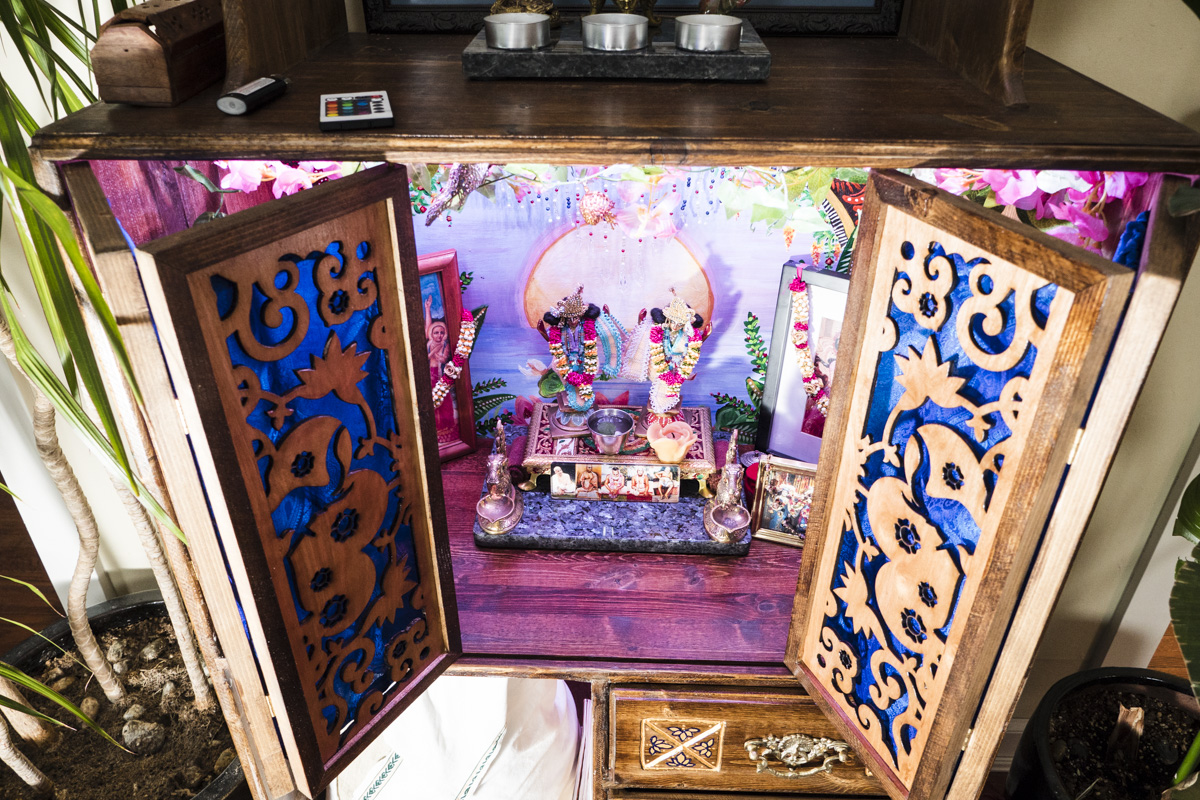
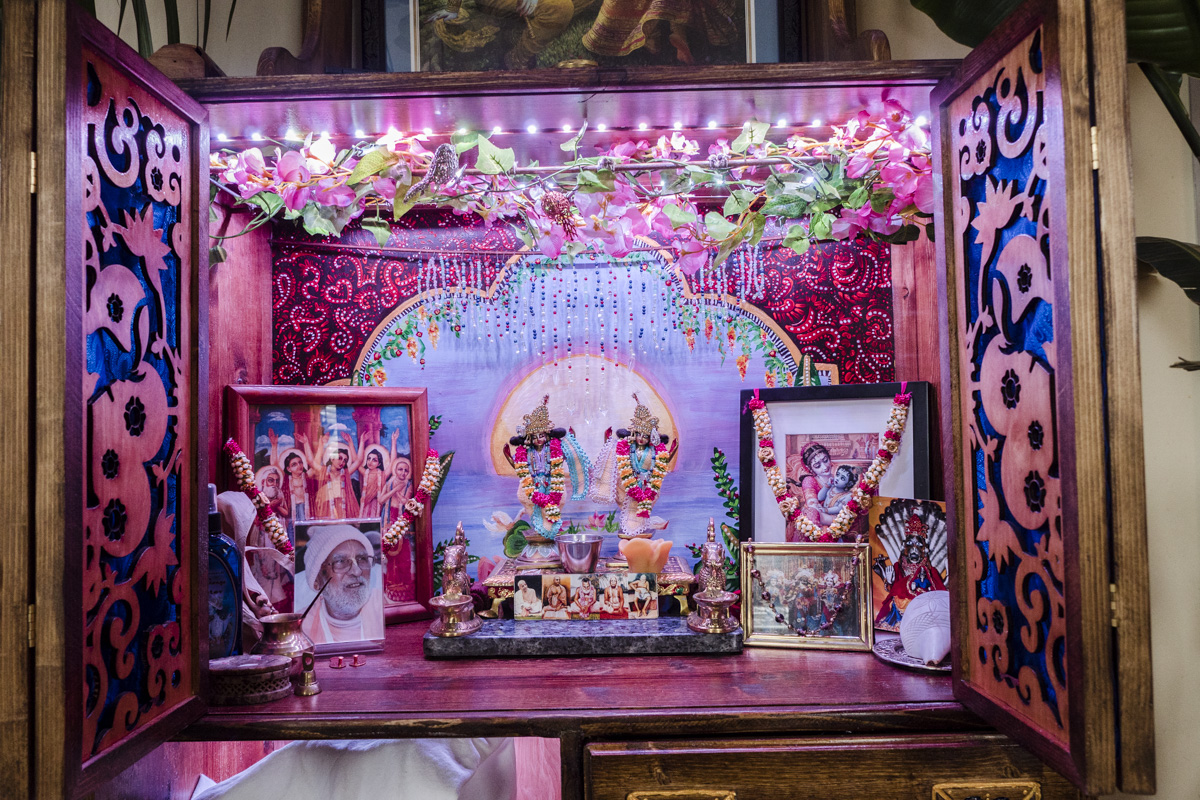
The idea was to have four door panels that were framed by 3/4" strips of pine that I would cut off of a 1x10 board. Inside those frames are pieces of 1/4" plywood that we took up to the college to laser cut a pattern into. The doors open like a accordion style closet door and have a pin and groove on the top and bottom to guide them as they open. The large open spot at the top was made large enough to hold a big framed poster that Kamala has and the lower shelves and drawers hold her mridanga (drum), her books, incense, and other small things. Once again I used RGB LED light strips for adding some character and to light the main portion where the deities live.
While making the plan in SketchUp I watched several hours of woodworking tutorials on YouTube so that I could figure out how to build things somewhat properly and how to use the tools I had purchased. I decided to try to joint everything as best as I could using a hand held router with a set of cutting guides. Every board got dado cut or rabbeted and the drawers got mortise and tenon joints. This definitely added a different level of complexity to trying to measure this all in the driveway using saw horses and hand held tools. A table saw and router table sure would have sped the whole process up quite a bit and made certain steps a lot easier but I think the end result would have been pretty close to the same as what I ended up with. There weren't too many things that ended up being inaccurately cut so all in all I would consider this a successful first attempt at woodworking.
While I got everything cut and assembled in stages Kamala was tasked to sand and stain everything. We used danish oil for most of the project and finished everything with a clear coat. While I was building, Kamala also painted a fancy background on the plywood backboard, used wooden dowel to make a lattice for some fake vines, and strung up lots of beads to hang. The final stages were to wire in the lights and finally to hinge and hang the doors. I think the doors turned out quite well considering there was very little room for error. Once the frames were glued together I had to plane down two of the sides to get everything squared up properly. They ended up fitting just as I had hoped with less than 1/4" overall space top to bottom and no gaps side to side. I chiseled out spots for the hinges to set into so that they would be mostly hidden which made it very tight to get the screws in to hang the doors but thankfully there was just enough space. With the doors in place with the silk curtains hung the alter was done. Overall I'm quite happy with how it all turned out.

- Log in to post comments
- 5996 reads
